I’ve know about the concept for years now, but i always imagined it to be a pain to setup. In said imagination it was going to take me days to set this up, and i recently got to it because my exams were over.
Only thing is; it took me a grand total of 30 minutes to set it up. This blogpost is going to be about how and what i did to set it up, and hopefully inspire you to do the same.
The what
Now what the fuck is a DNS sinkhole? Simply put it’s a network management tool blocks unwanted traffic. Less simply put a DNS sinkhole acts as a DNS server which intercepts DNS queries. When it receives a query for a domain that is on a blocklist (a list of domains that it should redirect to jack squat) it will prevent said device to connect to said domain.
Imagine this scenario; I do not wish for TikTok to be reachable on my network, how would a DNS sinkhole help me?
- A device makes a DNS query to resolve the domain. (In this case it would attempt to resolve www.tiktok.com into an IP).
- Instead of going to a regular DNS server and getting the domain resolved it would query the DNS sinkhole.
- Said DNS sinkhole checks to see if the domain is on its blocklist, and if it is it would respond with a null route effectively blocking access.
I have taken the liberty to block TikTok on my network and this is what happens;
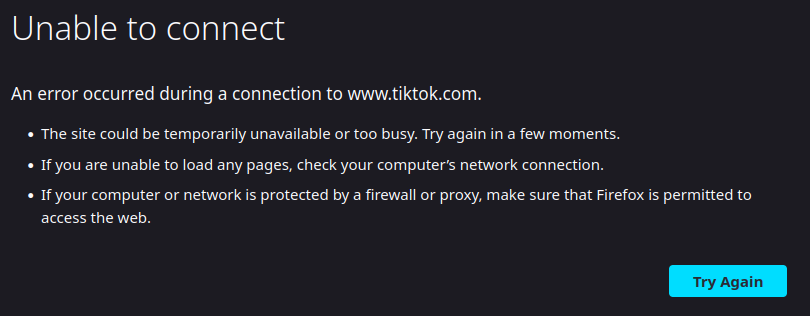

What you see here is a DNS query getting “null routed” to 0.0.0.0. In other words, my system queries my DNS sinkhole in attempt to resolve the TikTok domain. Instead of getting a valid IP back that it can connect to it gets a IP that does nothing.
But why?
Okay, so now that you know what it is, why would you want it?
Here is the kicker; it’s capable of blocking way more than TikTok. To give you an idea, since setting this up in my dorm it has blocked ~20% of all my traffic.
But what am i blocking?
To keep things short this allows me to block ads, trackers, annoyances and more over my home network. You can effectively think of it as installing an adblock on your home network. This makes it so my projector, mobile phone, and whatever else i decide to connect to my network reaps these benefits.
It’s not a perfect solution though, since services like YouTube are a bit complexer to block. This however is because of how YouTube ads work, because they are served from the same domain as the actual video content. It however has been capable of blocking ads in certain applications on my projector /shrug.
How do i choose what to block?
Here is where blocklist come in. They are lists of domains that your sinkhole should resolve to a invalid IP. You choose the blocklists to add, based on what they do, what they contain etc.
The how
So how’d i do it? Like previously stated, it took me a grand total of 30 minutes.
All i needed was a raspberry pi to do it, but you can run it on whatever you please.
I don’t plan on going in depth here since the documentation of whatever service you choose is going to provide this better than i could, but it was a very straightforward procedure.
I simply flashed my pi with the latest lite image, looked up the documentation for setting up AdGuard Home on it (which was a glorified one liner i could copy-paste), added a few blocklists and set my router to use the pi as the primary DNS server.
It really is that simple, anyone could do it. Which is why i encourage you, yes you to take a look at AdGuard Home, or Pi-hole and set it up for yourself. It barely takes any time to setup, and provides you with a experience that is definitely worth the effort. It enhances your security, privacy and overall experience on the web. Take more control of your home network and set it up today!